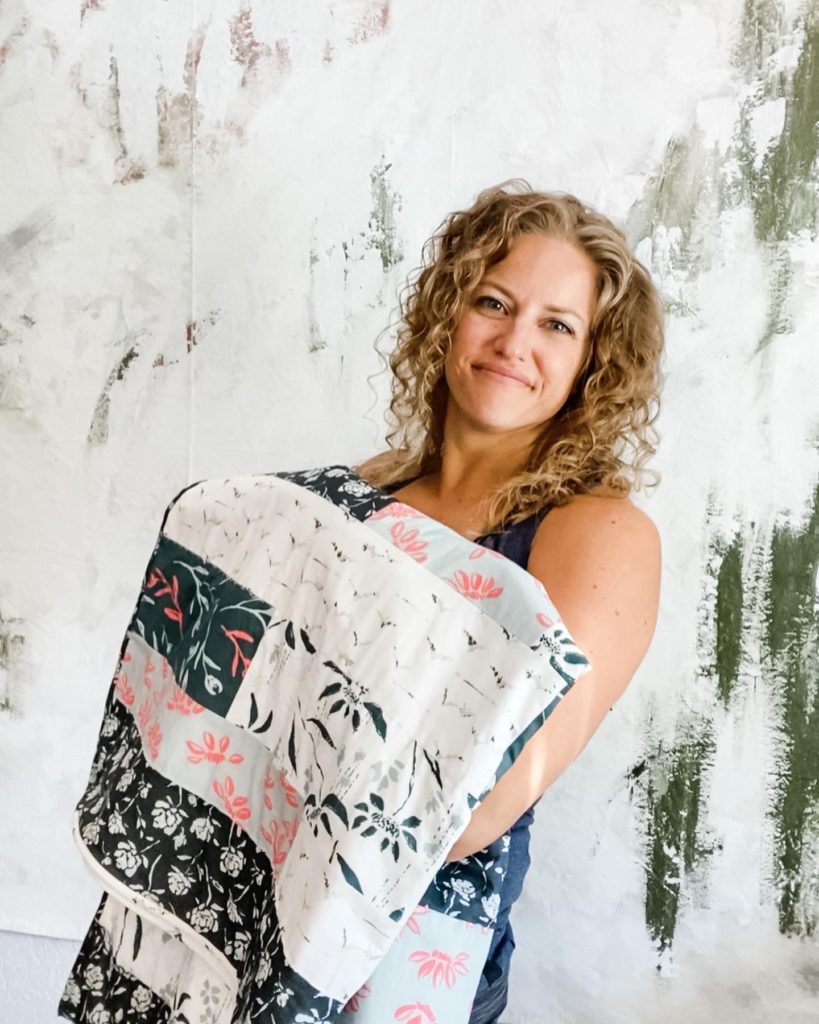
Welcome to my handmade quilting style:
Use a pattern? Not usually my style. Wing it? Totally down for that! Because I love a simple quilting project, today I am here to walk you through my process for creating a simple, modern, handmade lap quilt.
Level of difficulty for this quilting project: it is the easiest, simplest method I know. This is a great quilt for beginners, or for a quick and fun quilting project.
Before we begin, let me point out that this blog is not going to walk through all the steps of creating a quilt. So, if you are looking for more information on how to quilt, I will direct you to a couple of friends who can do a much better job of that! Check out this blog post from White Plains Quilts, the Beginner Quilter’s Toolbox. And this blog post from Wellspring Designs on Big Stitch Hand Quilting (isn’t it lovely!?). Also a great blog post from Quilter’s Candy to check out: this one Glue Basting.
Now that we got that out of the way, let’s dive in! If you’d like to download a printable version of the quilt layout, you can get that here:
Modern Handmade Lap Quilt Featuring the Western Skies Fabrics

First, a List of Fabrics Required:
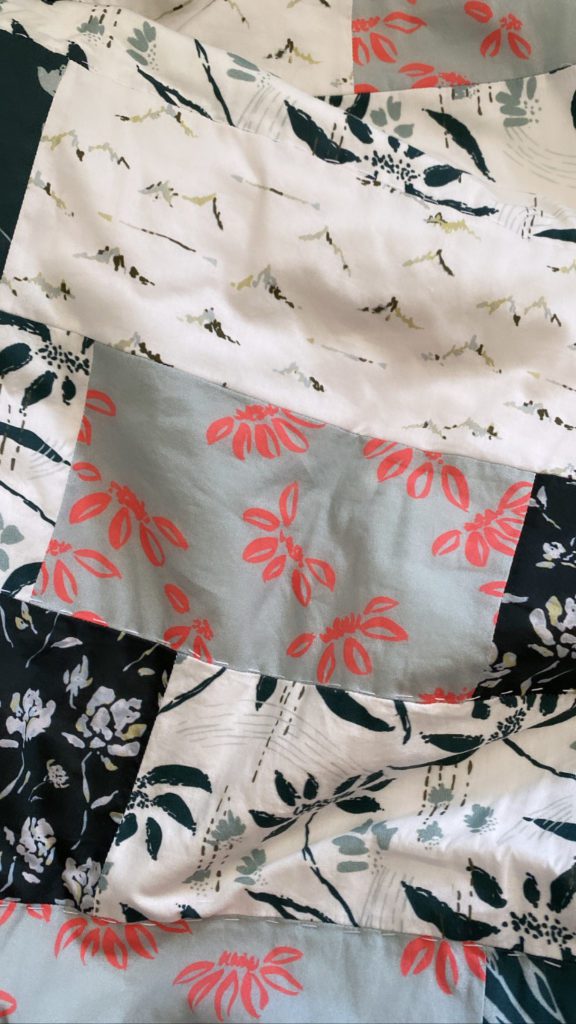
All fabrics used are from my Western Skies Collection, available at Carriage House Printery and Spoonflower:
Discovery: 1 Fat Quarter
Wandering Blue: 1 Fat Quarter
Meander in Navy: 1 Fat Quarter
Scenic: 1 Yard
Range: 1 Yard
Wandering Navy: 1 Yard
Note: if ordering from Spoonflower, I prefer their Cotton Poplin over their Petal Signature Cotton. The cotton poplin has a much better feel and drape. If ordering from Carriage House Printery, I ordered fabrics at the ‘house scale’ sizing and prefer their quilting weight cotton for quilt projects.

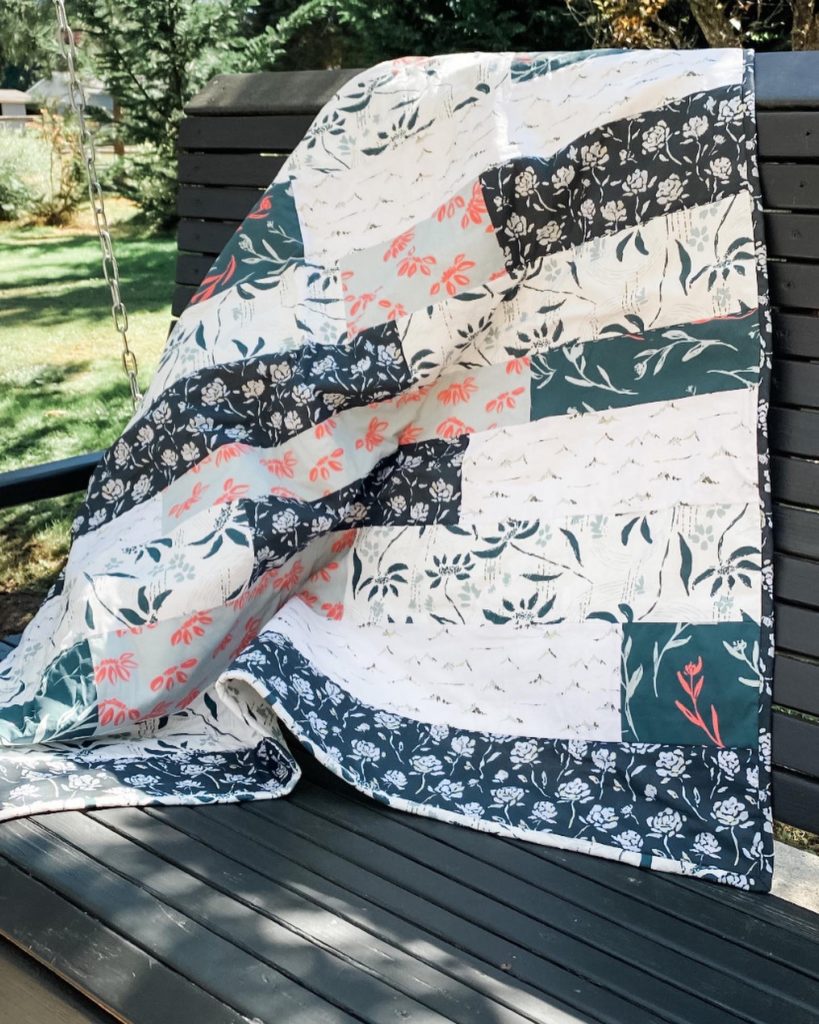
The Layout of my Modern Handmade Quilt
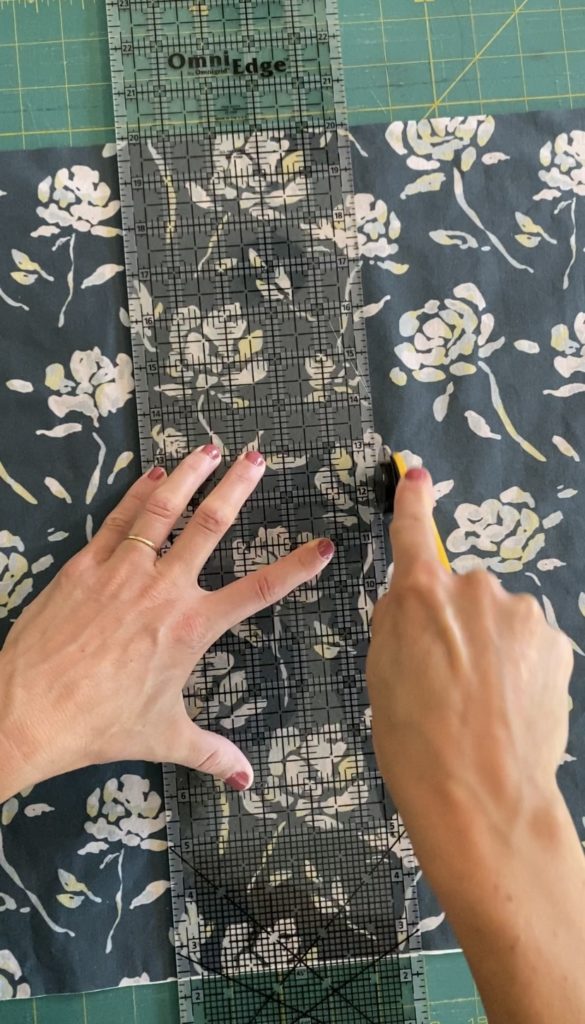
My method for quilting is to cut all the fabrics into 5″ strips first (this is the exact width of my cutting ruler) and sometimes I add a 3″ row for variety. After the fabric is cut, I lay out each row and cut, sew and rearrange each for a uniformly scattered quilt top. My goal: make it up as I go and get the most out of every fabric I order to avoid purchasing more fabric and finish with no scraps left over (because I know I will want to start the next project by buying all new fabrics and not pulling from my stash!).
I make sure to save several large pieces for the back and cut 3″ strips for the binding.

Just for you – I laid out the pattern and measured each block size (I have added the additional 1/4″ on each side for a seam allowance.)
For the Quilt Front:


For the Quilt Back:


Cutting List by Fabric:
16.5″x3.5″
12.25″x5″
8.5″x5″
21.25″x3.5″
15.75″x5″
6.5″x16.25″
6.75″x16.5″
20.25″x3.5″
10.25″x5″
14.75″x5″
10.75″x3.5″
10″x5″
6″x5″
22.5″x5″
24.5″x5″
17.5″x5″
17.25″x5″
19.25″x5″
19.5″x5″
37.75″x16.25″
3″ Binding Strip
8.25″x3.5″
22″x5″
13″x3.5″
13.75″x5″
19.5″x5″
38.25″x16″
3″ Binding Strip
44.5″x5″
8.25″x5″
12″x5″
27″x5″
14″x5″
44″x5″
45″x14″
(2) 3″ Binding Strips
For the Binding:
Cut 3″ x 44″ strips from: Scenic, Range and (2) from Wandering Navy. Or use any other leftover scraps you may have (you likely won’t have many if you order exactly the amounts I did!).

Final Handmade Quilt Notes:
If you are looking for other fabric options – check out the Toboggan Avenue shop page here, to see other collections now available!
Writing quilt patterns is a lot of work, and while I admire those who do it regularly – this isn’t my area of expertise! So if you have any questions about the fabrics, process, or layout – please send me an email at jennie@tobogganavenue.com and I’m happy to help! And if you’d like a printable version to keep handy, you can get that here (enter your email and I’ll send it your way!):
Read the Comments +