A DIY Project Guide to Turning Creative Ideas (and Pinterest Pins) into Reality
How often do you find yourself lost in the endless sea of inspiration on Pinterest (or torn magazine pages?), only to feel overwhelmed when it comes to actually bringing those ideas to life? You’re not alone! Many of us collect beautiful images and ideas but struggle to take the next step. That’s why we’re here today! To help you transform those pinned dreams into reality with a step-by-step DIY project guide. Because step-by-step makes it doable! Let’s dive in!
Step 1: Identify Your Inspiration
Already have your starting idea pinpointed! Great! If not, start by revisiting your Pinterest boards. Spend some time looking through your saved pins and identifying common themes, colors, and styles. Ask yourself what specifically draws you to these images. Is it the color palette, the textures, the overall feel? Understanding what you love will help you focus your efforts and create a plan.
If you need help defining your style before you begin, head here to take the Style Quiz!
Tip: Create a new board called “Top Projects” and pin your absolute favorites here. This will make it easier to narrow down your options later (You can see mine here!).
Step 2: Assess Feasibility
Once you’ve identified your top inspirations, it’s time to assess the feasibility of each project. Consider the following:
- Skill Level: Do you have the necessary skills to complete the project? If not, are you willing to learn?
- Time: How much time will the project take? Can you realistically fit it into your schedule?
- Budget: What is the cost of materials and tools? Is it within your budget?
Tip: Start with smaller, simpler projects to build confidence before tackling more complex ones.
Step 3: Select a DIY Project
Choose one project to start with. If you’re like me, you’ll want to take on several at once but choose just one for now that excites you and feels achievable based on your assessment. Don’t overwhelm yourself by trying to do too much at once. Focus on one project and give it your full attention.
Tip: Choose a project that aligns with your desired home decor style or adds a meaningful touch to your space. Think of how you’d love your space to look or function and work backward from there to decide which project will help you arrive at that style.
Step 4: Gather Materials and Resources
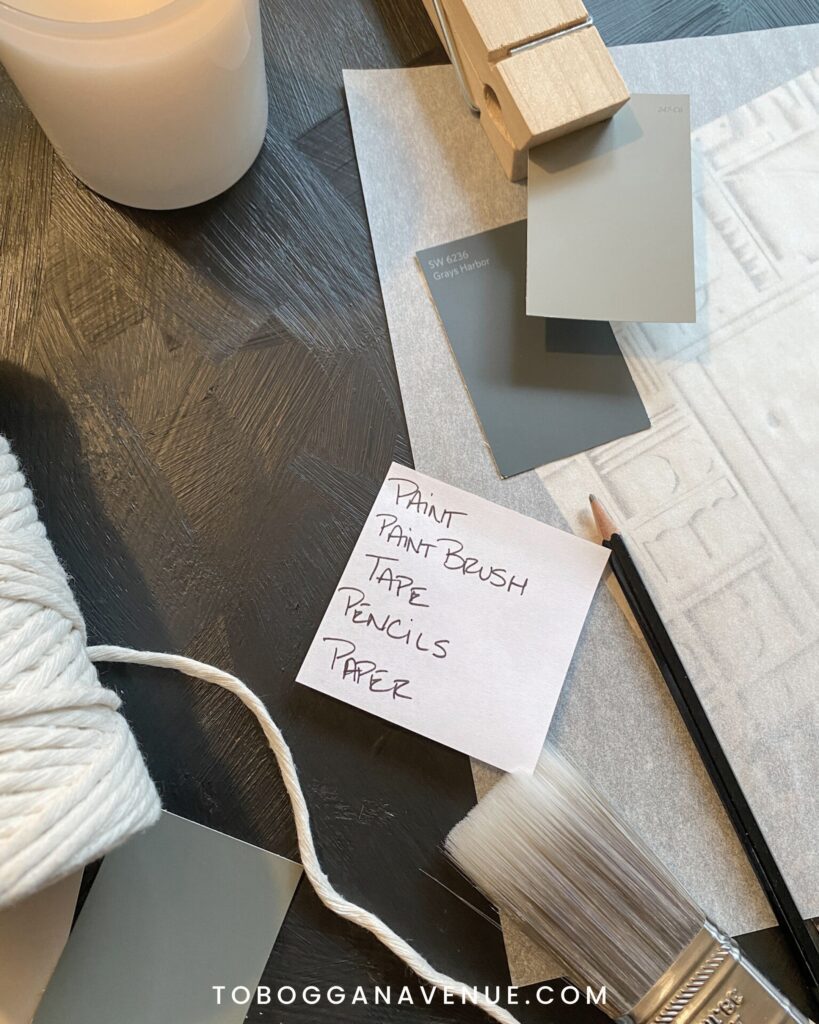
Now that you’ve selected your project, it’s time to gather the necessary materials and tools. Make a detailed list of everything you’ll need. Check around your home first – you might already have some of the items. For the rest, consider local craft stores, hardware stores (my favorite), online retailers, and even thrift shops for creative options.

Tip: Invest in quality tools that you can use for future projects. They might cost more upfront but will save you money in the long run.
Step 5: Plan and Prepare
Before diving into the project, take some time to plan and prepare. Read through instructions (if you have them) or walk through each stage of the project to visualize what you will need and if you will need help with a step or two. Set up a dedicated workspace with all your materials organized and easily accessible. This will help you stay focused and work more efficiently.
Tip: Allocate specific times in your schedule to work on your project. If that doesn’t work, having the project set up and ready in a dedicated space will help you take advantage of smaller pockets of time to work.
Step 6: Execute the Project
With everything in place, it’s time to start creating! Follow your plan step-by-step. Don’t rush the process – take your time and enjoy each stage. Remember, it’s not just about the finished product but also the joy of creating something with your own hands.

Tip: Document your progress with photos and notes. This not only keeps you motivated but also allows you to look back and appreciate your hard work – plus you have content to share on social media if that’s your style.
Step 7: Troubleshoot and Problem-Solve
It’s common to encounter challenges along the way. Whether it’s a material not working as expected or a design issue, stay calm and be ready to problem-solve. Look for online tutorials, ask for advice from friends or online communities, and remember that mistakes are part of the learning process.
Tip: Keep a positive mindset. Every challenge is an opportunity to learn and grow.
Step 8: Add Personal Touches
Once the main part of your project is complete, or as you go, add personal touches to make it truly unique. Incorporate elements that reflect your personality, interests, and style. This is what will make your creation stand out and feel special.

Tip: Use sentimental items or personalized details to add an extra layer of meaning to your project.
Step 9: Celebrate Your Achievements
Finally, take a moment to celebrate your accomplishment. Share your finished project with friends and family, or post it on social media. Or, you can send me a note at jennie@tobogganavenue.com and show me what you’ve created! Enjoy the satisfaction of seeing your inspiration come to life and the joy it brings to your home.
Tip: Reflect on what you’ve learned and how you’ve grown through the process. Every project is a step forward in your creative journey.
Conclusion
Turning Pinterest inspiration into reality is a rewarding process that brings creativity and joy into your home. In the process, you’ll build the confidence and skills needed to tackle any project that comes your way. So go ahead, choose your project, follow this DIY project guide, and start creating! Need ideas to get you started? Check out my ‘Top Projects’ Pinterest board here!

Read the Comments +