


Plus a Simple Tip to Keep Them Vibrant!
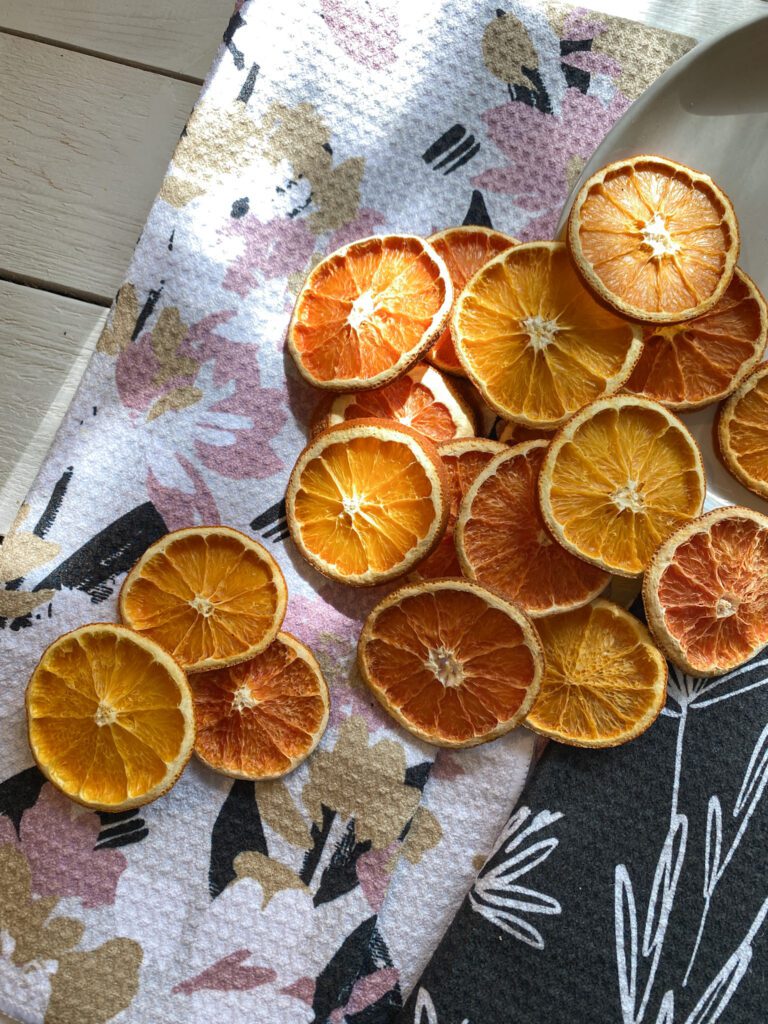
Have you ever used dried orange slices for holiday decorations? If not, now’s the perfect time to give it a try! Not only do they bring a festive pop of color, but they also add a beautiful, natural element to your holiday decor with a big bonus: they smell amazing! You can use them to make garlands, ornaments, and wreaths (or even as decorative props for photoshoots ;).

And here’s that tip:
Dusting your orange slices with confectioner’s sugar before drying them helps keep their color vibrant! Who knew?!
If you’ve never dried orange slices before, don’t worry—it’s super simple. It just takes a little time. Here’s how you can do it:
What You’ll Need:
- Navel oranges and/or Cara Caras (for a variety of colors)
- Confectioner’s sugar
- A small sieve
- Cooling rack and baking sheet
- Oven or Dehydrator
Step-by-Step Instructions:
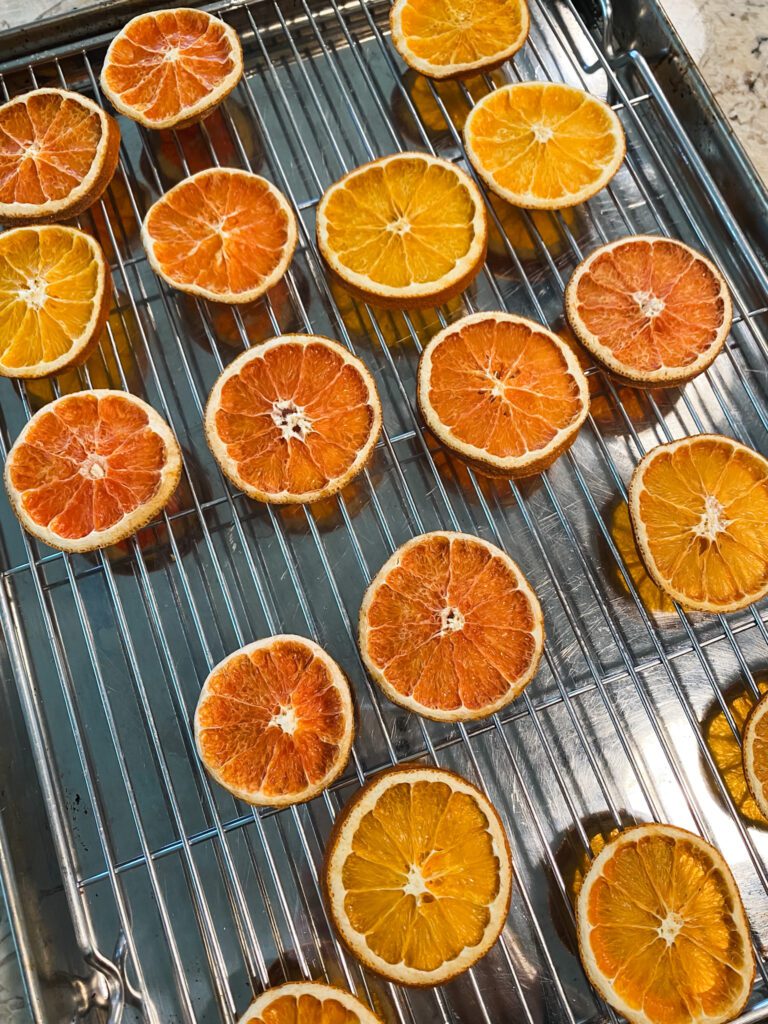
- Slice the Oranges
Start by slicing your oranges about 1/4” thick. You can choose different types of oranges to create more variation in color. Navel oranges and Cara Cara oranges work beautifully together. - Pat the Slices Dry
After slicing, gently pat them dry with a paper towel to remove excess moisture. (Don’t worry if you forget this step, I did and it still worked out ok!) - Dust with Confectioner’s Sugar
Using a small sieve, dust both sides of each orange slice with the confectioner’s sugar. This step will help lock in that beautiful orange hue as they dry. I used just enough to cover the surface of the orange slice - Prepare for Drying
Place the sugar-dusted orange slices on a cooling rack, and then set the cooling rack on a cookie sheet. This will allow air to circulate around the slices as they dry in the oven. - Set the Oven Temperature
Preheat your oven to 190°F (or your oven’s lowest setting). - Bake and Flip
Place your tray in the oven and check on the slices every hour, flipping them each time. The drying process can take several hours depending on how dry you want them. The key is patience! - A Little Real Life Moment…
Note: Life happens! I actually had to turn the oven off after three hours because we had to leave. And then I forgot and left the orange slices inside overnight (oops), but they turned out just fine.
If your orange slices are still slightly sticky when you need to pull them from the oven, let them air dry completely on the counter as needed.
Decorating with Orange Dried Slices
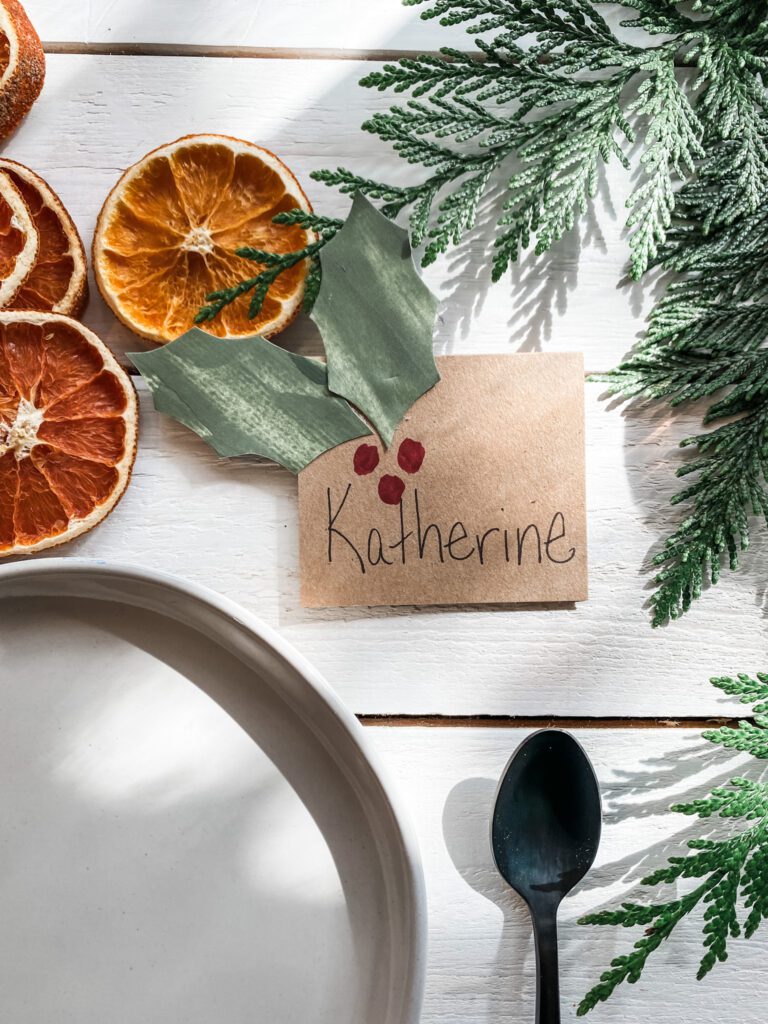
Once your orange slices are fully dried, they’re ready to use however you like! You can string them up to make a garland, use them to decorate presents, eat them as a snack, tuck them into your evergreen garlands, or simply display them in a bowl for a rustic, natural holiday vibe.

Let me know if you try this method! And if you’re looking for other holiday decorating ideas, I’ve got that for you too! Check out these 12 Days of Holiday Paper Crafting! Happy decorating!


")


Read the Comments +