


A Simple Gift to Warm the Heart
With Valentine’s Day just around the corner, what better way to share your love and friendship than with a hand-painted, DIY valentine? This simple project not only shares a personal, creative touch – it also helps use some of those craft supplies languishing in your art closet. (I know you have a few too!) So, in the spirit of slowing down, let’s take an afternoon and spread some heartfelt, homemade joy! Just like we did in elementary school! 💕
Materials Needed:
- Watercolor paper
- Contact paper
- Craft paint in various Valentine’s Day colors
- Paintbrushes or palette knife
- Scissors or Xacto knife
- Optional: embellishments like glitter, sequins, or stickers – anything you happen to have handy from your college art classes
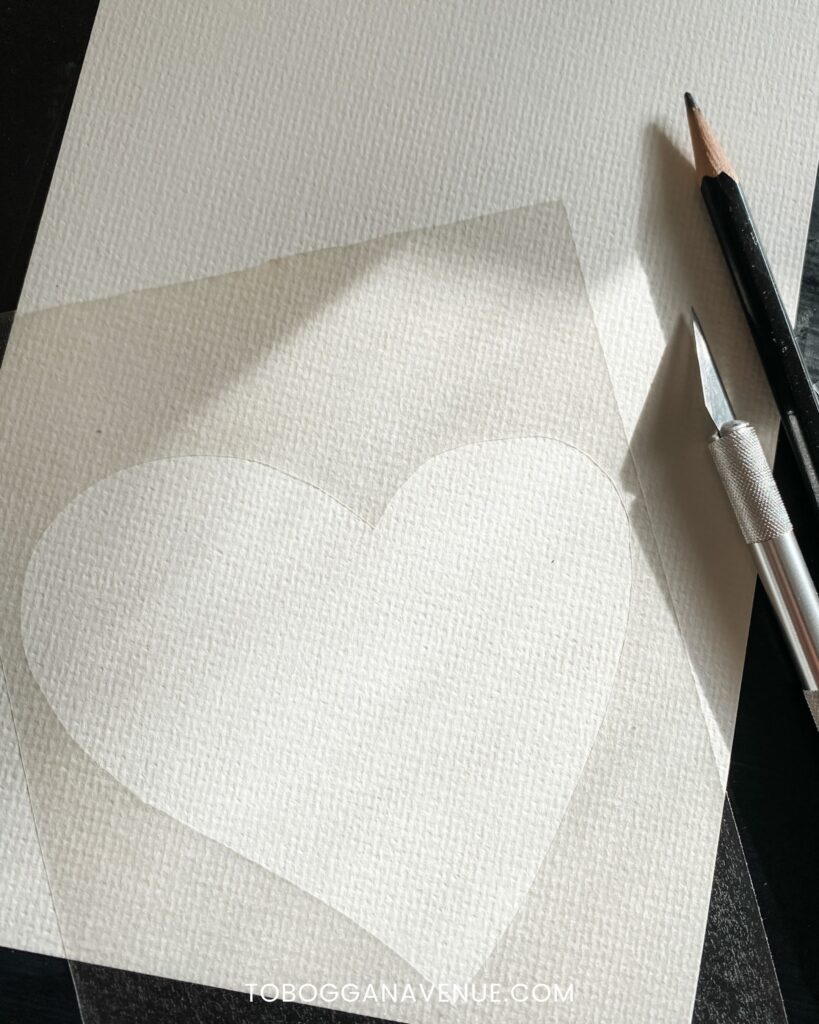
Step 1: Create Your Stencil
Begin by drawing and cutting a heart shape out of contact paper. This will serve as your stencil for the design on your valentine. If you’re drawing on the back of the contact paper, don’t forget that you’ll be drawing backward. I love Valentine’s crafts because hearts are so simple to draw!

Next, make sure the contact paper is firmly attached to the watercolor paper to prevent any paint from seeping underneath. I usually run my finger firmly along the edge a couple of times to seal it.
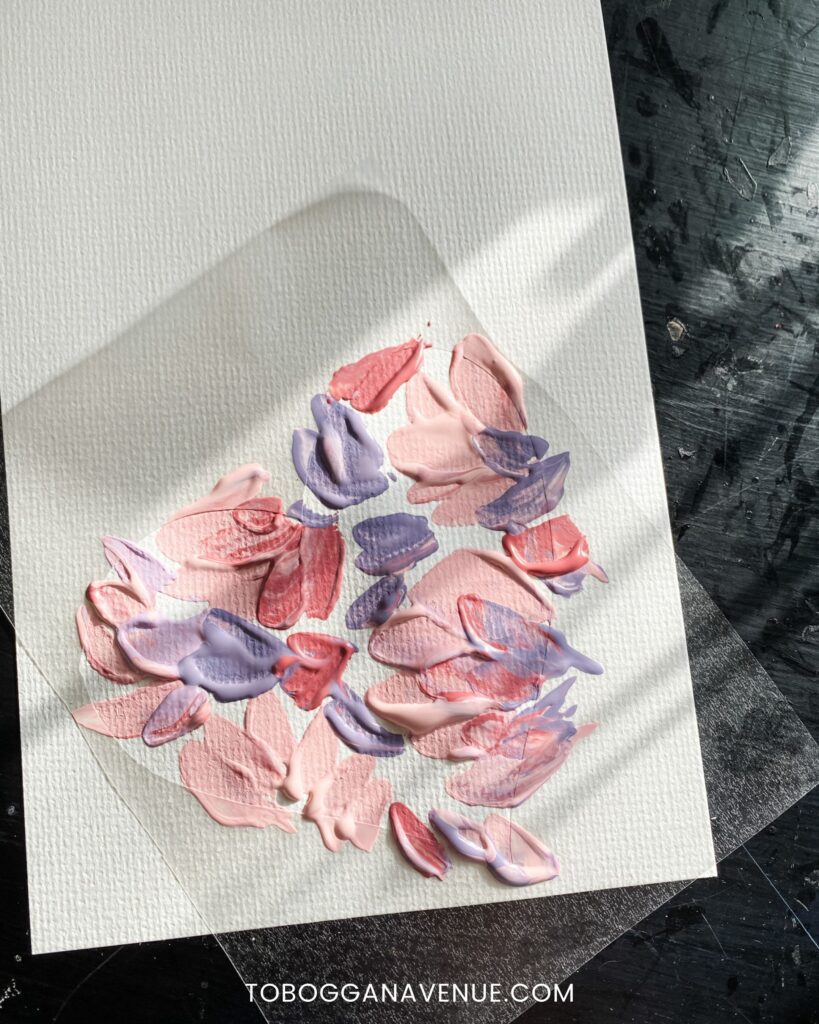
Step 2: Get Creative with Paint
Now comes the fun part! Using your craft paint and brushes or palette knife, fill the area within the heart-shaped stencil with your painted designs. It’s time to get creative! Whether it’s cheerful flowers, whimsical hearts, or abstract designs, it’s entirely up to you! Experiment with different techniques and layering to create a design as simple or complex as you like.
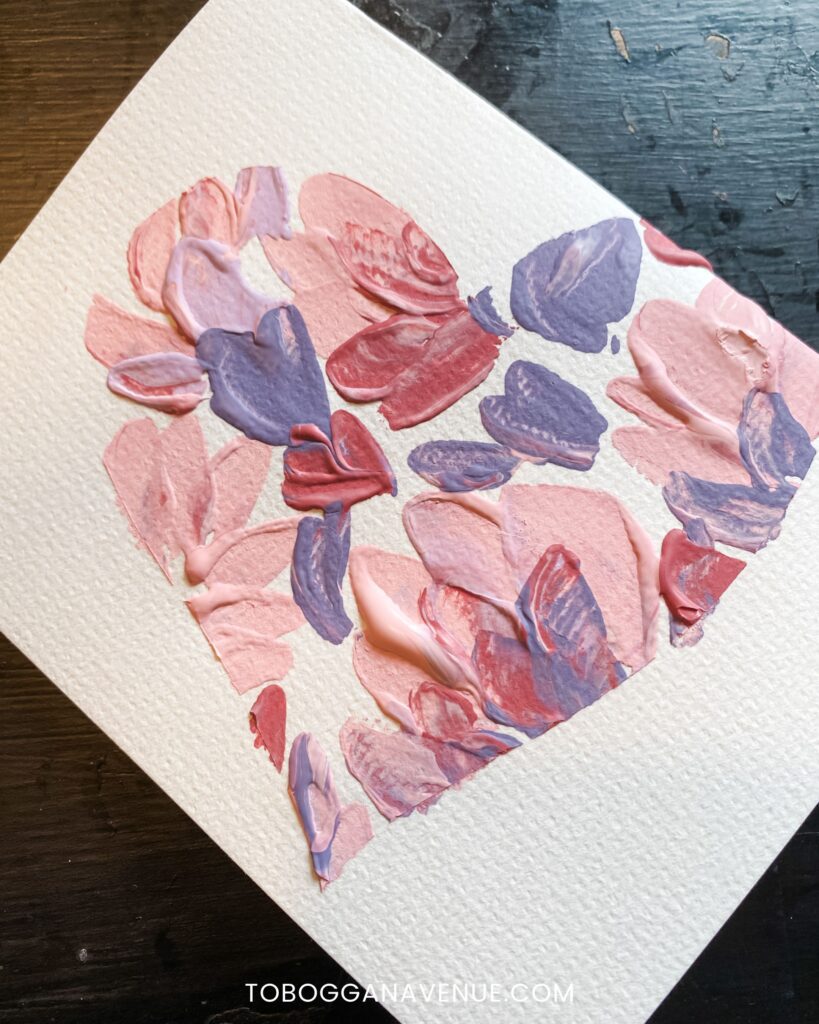
Step 3: Let It Dry & Remove the Stencil
Patience. Maybe the hardest part: allowing the paint to dry completely. This may take some time depending on the thickness of the paint and the humidity in your environment, so be patient and wait for it to fully dry.
Once the paint is dry, carefully peel away the contact paper stencil to reveal the beautifully painted heart underneath. This moment is the best – seeing the heart shape that remains when the stencil is removed. 💕
Step 4: Fold and Share the Love
You’re almost done! Fold your watercolor paper into a card and write a heartfelt note inside.

There’s nothing quite like a homemade Valentine to share your heart and make someone’s day! So gather your supplies, clear your workspace, and get started! Happy Valentine’s Day!
Note: Amazon likes are affiliate links, so if you purchase, I may receive compensation, at no extra cost to you. Products linked are only ones I use and love. To see more creative ideas, click here!
Looking for More Creativity?


")


Read the Comments +